

Have you ever as a crafty person clung to fabric leftovers for years in hopes that one day you’d have just the right project to use it for? I know I have… and as much as many of your would like deny that once you deal with fabric or string or yarn.. it’s hard to get rid of leftovers in general! Your mind doesn’t always come up with ideas that very minute, but in some time you hope it does! This same route I’ve been going ever since I’ve discovered this faux fur! Honestly, it’s the best faux fur made in the world, so I am sure you can see my point about holding on my scraps…
I have had this idea for a while, but as usual timing and whole slew of things in the way… Finally, I made it! The hardest part was picking out the color of the yarn that would match my faux fur color close enough, but yet not distract with its texture or color variation.
Faux fur produced by Tissavel is one of the best in the market, Made in France, feels and looks (most animal prints at least) like real fur. So real, in fact, one day in D.C. I was walking to work from a metro station and startled by some (PETA?) guy screaming: “Do you know what your coat is made of?!!!” To which he heard my response: “Yes, cotton and viscose!” He was stunned and I walked away winning! 🙂 So my point is that this faux fur even with undercoat of different shade looks very real. I know if one touches it – all you’ll want is to pet it all day!
I’ve had some Tissavel leftover pieces from my mom’s work for a while now. I know even some friends of mine got bits of it here and there as well, it’s really great!
But if you are not a fan of sourcing out a pieces of faux fur you like or fuss over sewing at all, you can go knitting route all the way. And you can do that using two methods:
First, you can find the yarn like Berroco Nanuk or other fluffy yarn that would make a nice cushy pelt for the center of your scarf.
OR
You can knit ANY yarn to create center rectangle using Loop Stitch technique. I suggest using some yarn with a great content of alpaca or suri, so it’s even fluffier. If you wish you can even cut those loops, so it’s more fur looking… Kind of like this Stella McCartney fur vest.
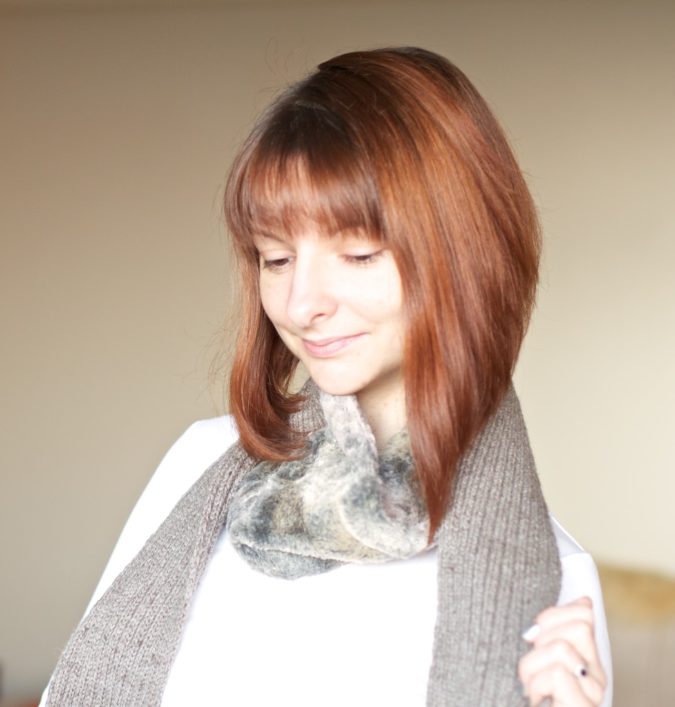
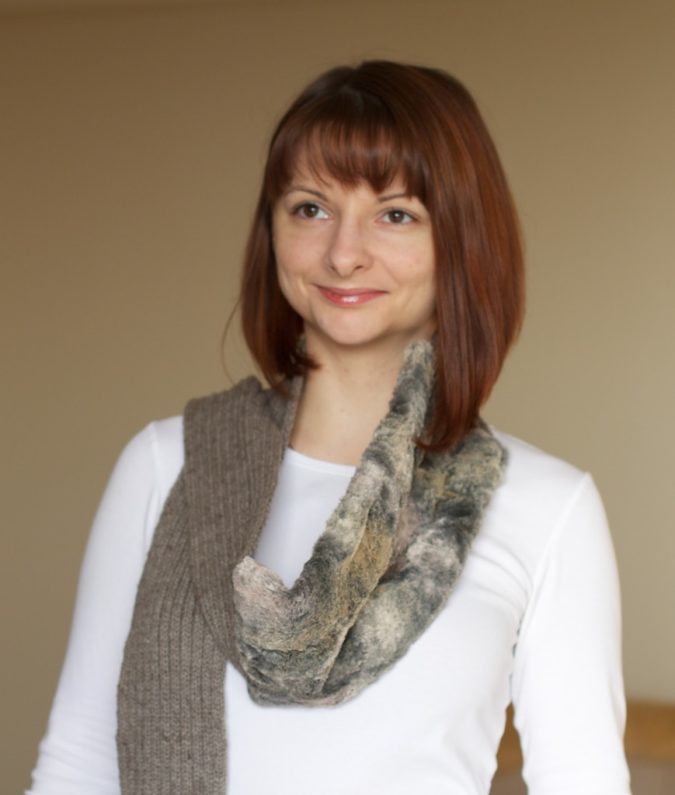
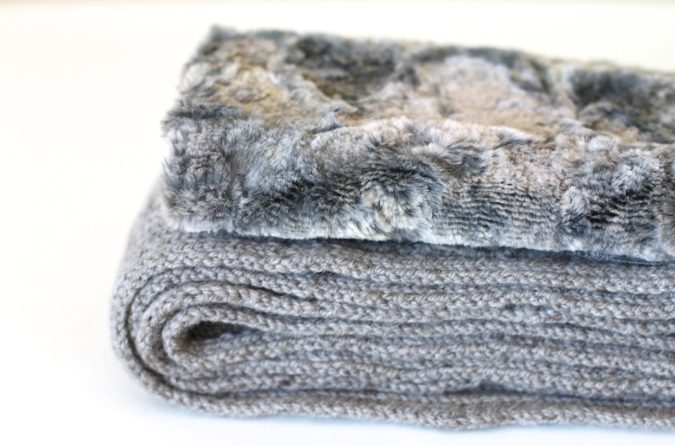
Fur substitute rectangle should be 12″ by 14″ if knit flat, when folded and seamed into a tube it should measure 6″ by 14″.
Now for the ends:
I’ve used Pear Tree 4-ply Merino yarn, which is 100% Australian merino. It’s more of a DK weight and I used US 6 (4mm) needle to go with it for my knit 2, purl 2 ribbing pattern.
My gauge is 7.5 sts per 1″ over Ribbing pattern.
You can choose a different stitch pattern for knit part of the scarf as long as you get the necessary dimensions.
Scarf width should measure 6″ in washed and blocked form. I suggest to make a little swatch to calculate correct number of stitches to cast on for your yarn choice and needle size.
Cast on 46 sts.
Row 1: *K2, p2*, k2.
Row 2: *P2, k2*, p2.
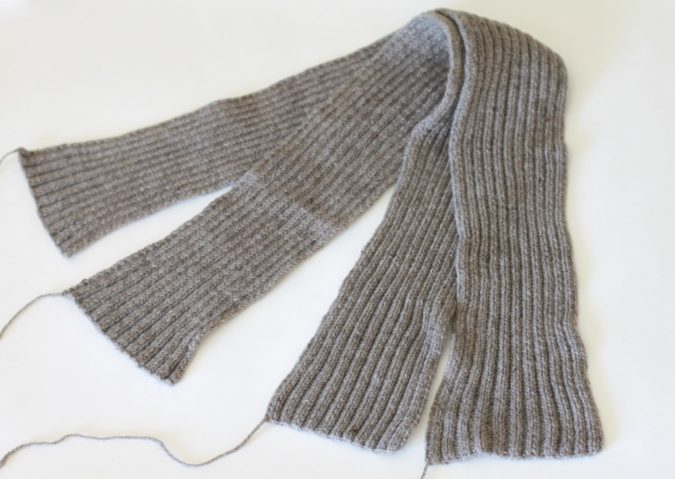
Repeat rows 1-2 until scarf end measures 35″ from CO edge. BO all stitches in pattern. Then make a second scarf end identically. Weave in all ends, soak and block your knit scarf ends to measurements.
For faux fur insert cut 12″ by 14″ rectangle plus 3/4″ seam allowances.
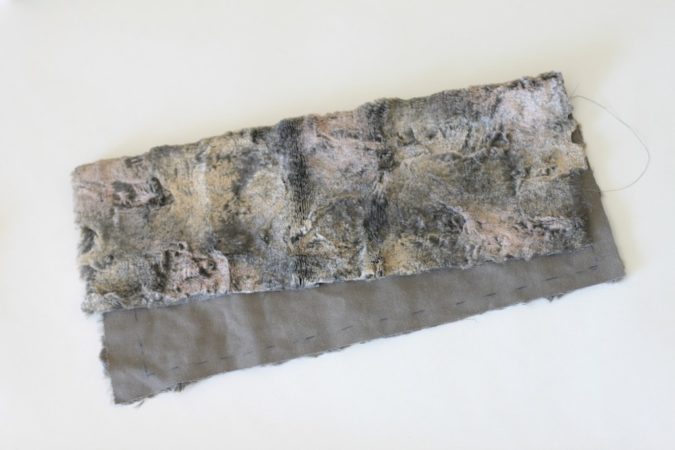
Fold the faux fur rectangle with public side facing inside, then pin first scarf end to the right edge in place between 2 folded ends of the fabric. Stitch by hand to hold in proper place, making sure that sides of the scarf do not bleed over the marks where the knit insert has to be stitched.
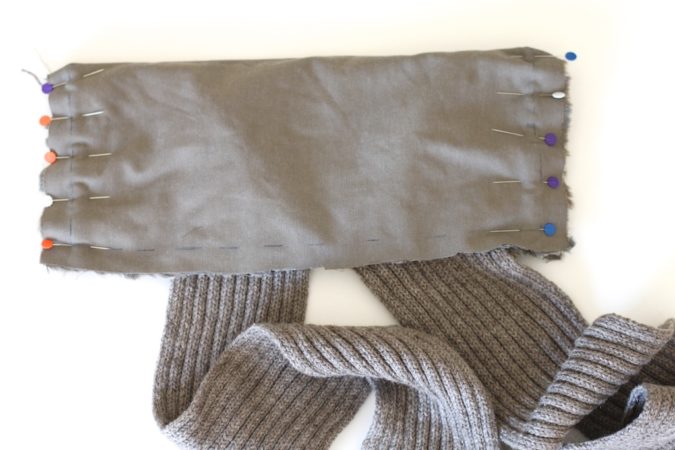
Take second knit scarf end and repeat as for the first scarf end only pinning it on the other side of the faux fur rectangle.
Once knit scarf ends are placed properly, use sewing machine to stitch the scarf ends securely in place. You can go over it several times if you’d like.
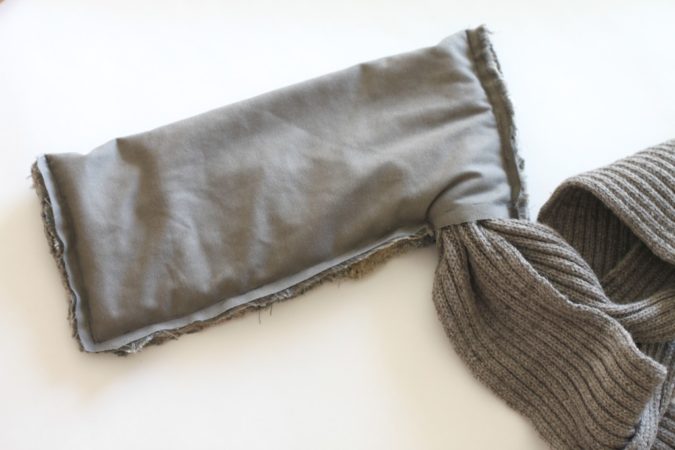
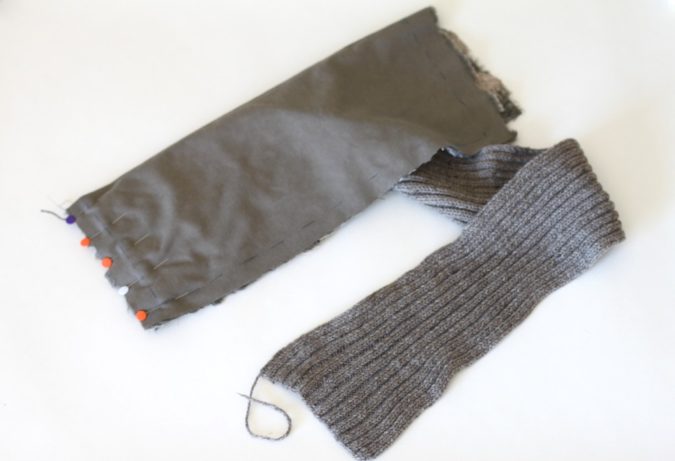
Then shift both ends of the knit ends to one corner. Pin, then hand stitch to hold in place along the side. Machine sew along the edge to close the side of the rectangle as much as possible with ends still sticking out. Trim excess selvedge fabric.
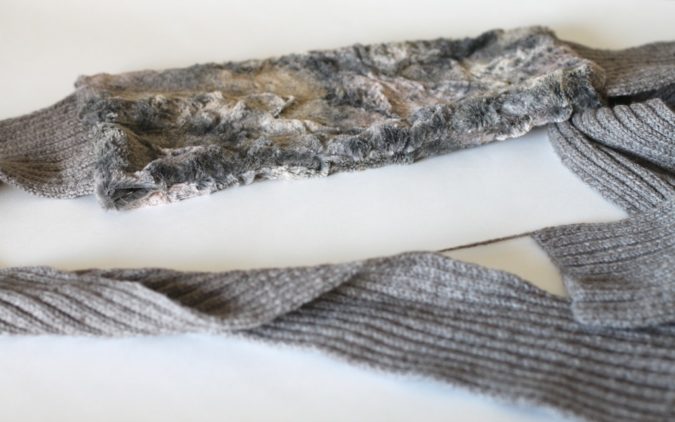
Carefully pull on the knit scarf ends and turn faux fur rectangle inside out. You’ll have two scarf ends attached to a fur rectangle. Last piece of business is closing that small opening. Using sewing needle and matching sewing thread hand stitch it closed by inverting the selvedges inside along the lines and sewing it shut in a manner of small Mattress stitches.
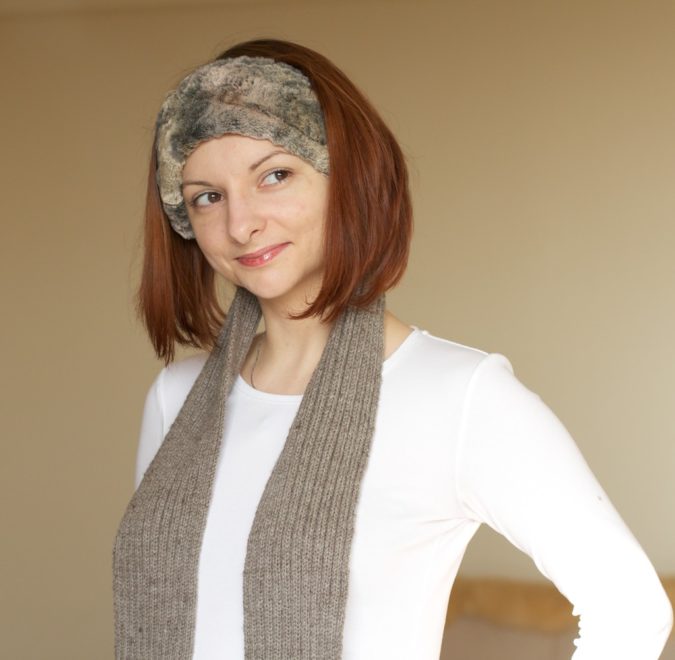
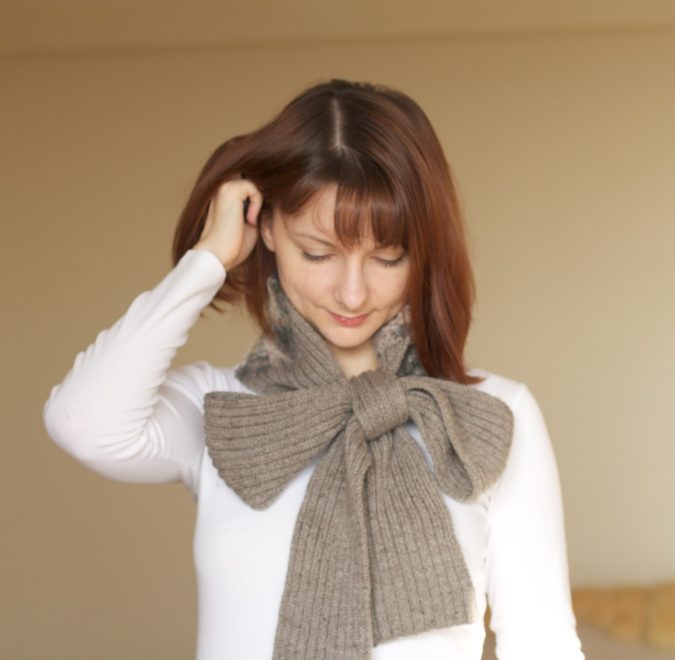
Voila!!
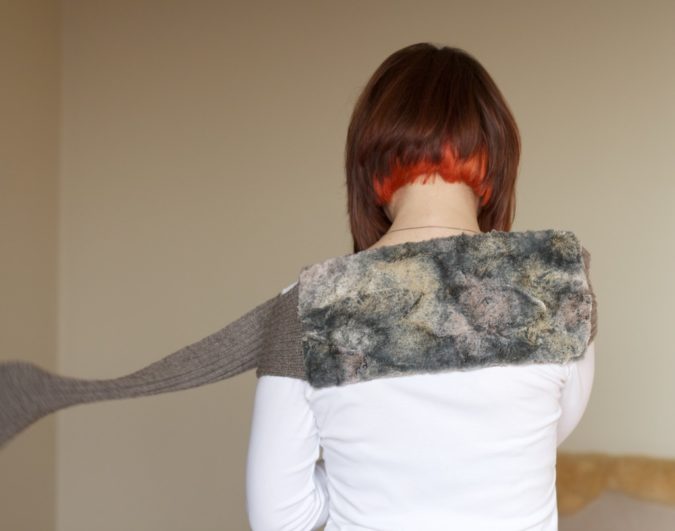
Now you can get one yourself as well or there is still time for holiday gifts!!
Happy Crafting!!!

That is a pretty cool idea Olga! Lovely scarf!
Absolutely love it Olga!!!! Nice Scarf and what a cool project.
Very interesting idea Olga! Thank you for sharing!
This is great! Today I have your Sabi hat featured on my blog! Thanks for sharing your designs.
love love love ! i will def. be making this. you are one brilliant girl. love seeing your posts.